Step 13: Use Environment Variables to Protect Secure Credentials
Step 13: Use Environment Variables to Protect Secure Credentials
In our openWeatherApi() function we’ve hard coded our API key from OpenWeather. While this works, it is not a best practice because if we were to push our code to Github then anyone who had access to the code would be able to see and potential use our API key. This introduces security risk and can lead to some serious consequences in a real-world application.
async function openWeatherApi (query) {
  try {
    const url = 'https://api.openweathermap.org/data/2.5/weather'
    const apiKey = '111222333abcabcabcabc' // <- Danger danger! - security risk!!!

    // make api request using axios
    const response = await axios.get(url, {
      params: {
        appid: apiKey,
        q: query,
        units: 'imperial'
      }
    })

    return response.data
  } catch (e) {
    console.log(e)
  }
}
Thankfully, there’s an approach that solves this problem for developers. The best practice is to store our application’s secure credentials (API Keys, security keys, etc) in Environment Variables
Environment variables are used to obscure your secure credentials by representing them as variables instead of hard coding them.
Let’s walk through the process securing our OpenWeather API key
1. Create a file named .env
We are going to be using the popular npm package called dotenv (we installed in Step 3) to manage our environment variables
Create a file (inside your project folder) named
.env$ touch .env
2. Add secure credentials to .env
Open .env in your editor and add the following:
// OpenWeather API Key
OPEN_WEATHER_API_KEY=[YOUR_OPENWEATHER_API_KEY]
Here are storing our OpenWeather API key in an environment variable named OPEN_WEATHER_API_KEY (best practice is to use snake case and all caps when naming your environment variables)
3. Update openWeatherApi() to use our environment variable
Replace the hardcoded API key with the environment variable
async function openWeatherApi (query) {
  try {
    const url = 'https://api.openweathermap.org/data/2.5/weather'
    const apiKey = process.env.OPEN_WEATHER_API_KEY // <- using the env variable

    // make api request using axios
    const response = await axios.get(url, {
      params: {
        appid: apiKey,
        q: query,
        units: 'imperial'
      }
    })

    return response.data
  } catch (e) {
    console.log(e)
  }
}
The dotenv package (see docs) allows us to access our environment variables (store in .env) via process.env.[YOUR_ENVIRONMENT_VARIABLE_NAME]
In our code, we replaced the our hardcoded API key with process.env.OPEN_WEATHER_API_KEY (the name of the environment variable we added to .env)
4. Create a .gitignore file to prevent .env from being included in your git repository
Git allows developers to specify files that they do not want to be tracked and committed to their git repository. These files will essentially be ignored by git
We accomplish this by creating a .gitignore file and adding the path of any files that we’d like to be ignored to .gitignore
Create a
.gitignorefile$ touch .gitignoreOpen
.gitignorein your editor and add the following:.env /node_modules
Here we are adding .env to prevent our secure credentials from tracked.
We are also adding /node_modules folder. This is often a best practice because the /node_modules directory can become quite large (it is where all of the libraries and their dependencies) are installed. There’s no need to include these libraries in the git repository because a detailed list of all the packages needed for your application are stored in package.json. If someone were to pull your application from Github, they would simply need to run:
$ npm install
This command will inspect the project’s package.json and install all of the packages (and their dependencies)
You have now secured your application’s secure credentials. If you were to push this code to Github your actual API key would not be available since you added .env to your .gitignore file
4: Initialize a git repository for our project and confirm .env is being ignored
Initialize a new repository for the project by running the following command:
$ git initStage your changes
$ git add .Run
git statusto confirm that.envand/node_modulesare being ignored$ git status

Confirm that .env and /node_modules are not listed (meaning they are successfully being ignored by git)
6. Ensure that you’re able to see “git-ignored” files in your text editor
Some text editors (such as Atom) will hide files that have been “git-ignored” which will result in those files not being visible in your text editor’s file pane (tree view)
Check if you’re able to see the recently created .env file in the file pane of your text editor
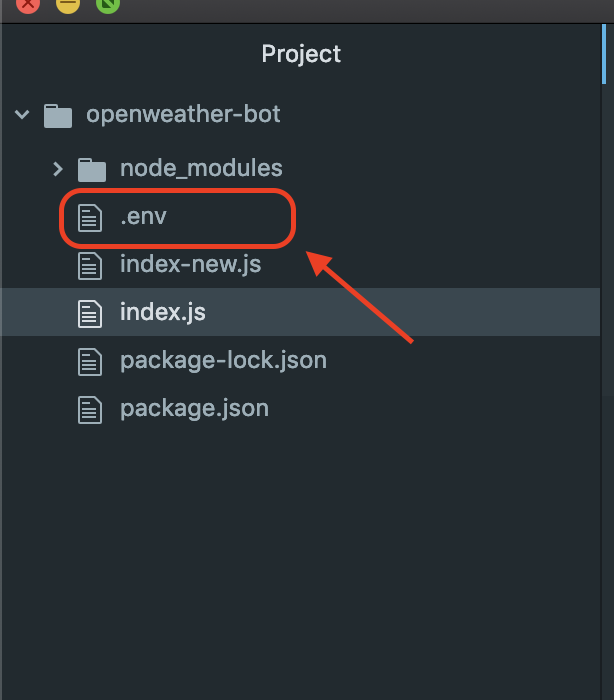
Do the following if you don’t see the .env file:
For Atom, users - follow the instructions found here to display hidden files
For non-Atom users, you will need to look up how to display hidden files in your editor (only if hidden files aren’t currently showing)
6. Try your /weather slash command again
Restart your Express server and go back to your development workspace on Slack and try the /weather slash command again (make sure you include a valid city name):
/weather brooklynConfirm that everything continues to work as before